Deploy CI/CD Using Github
Prerequisites
- Deploy the threat intelligence dashboard (Fly.io + Neon) completed through Part 2 (Fly app exists,
fly secretsset forDB_*, manualfly deploysucceeded once). - Neon with
dashboard.panel_feedand credentials configured on Fly (not in GitHub). - Git on your local machine and access to
complete-threat-intel-app(includes.github/workflows/deploy-fly.yml,Dockerfile,fly.toml). - Optional: CA101 feed Lambdas pointed at Neon — Public threat intelligence feed parser, Private DB threat intelligence feed pull.
Network topology
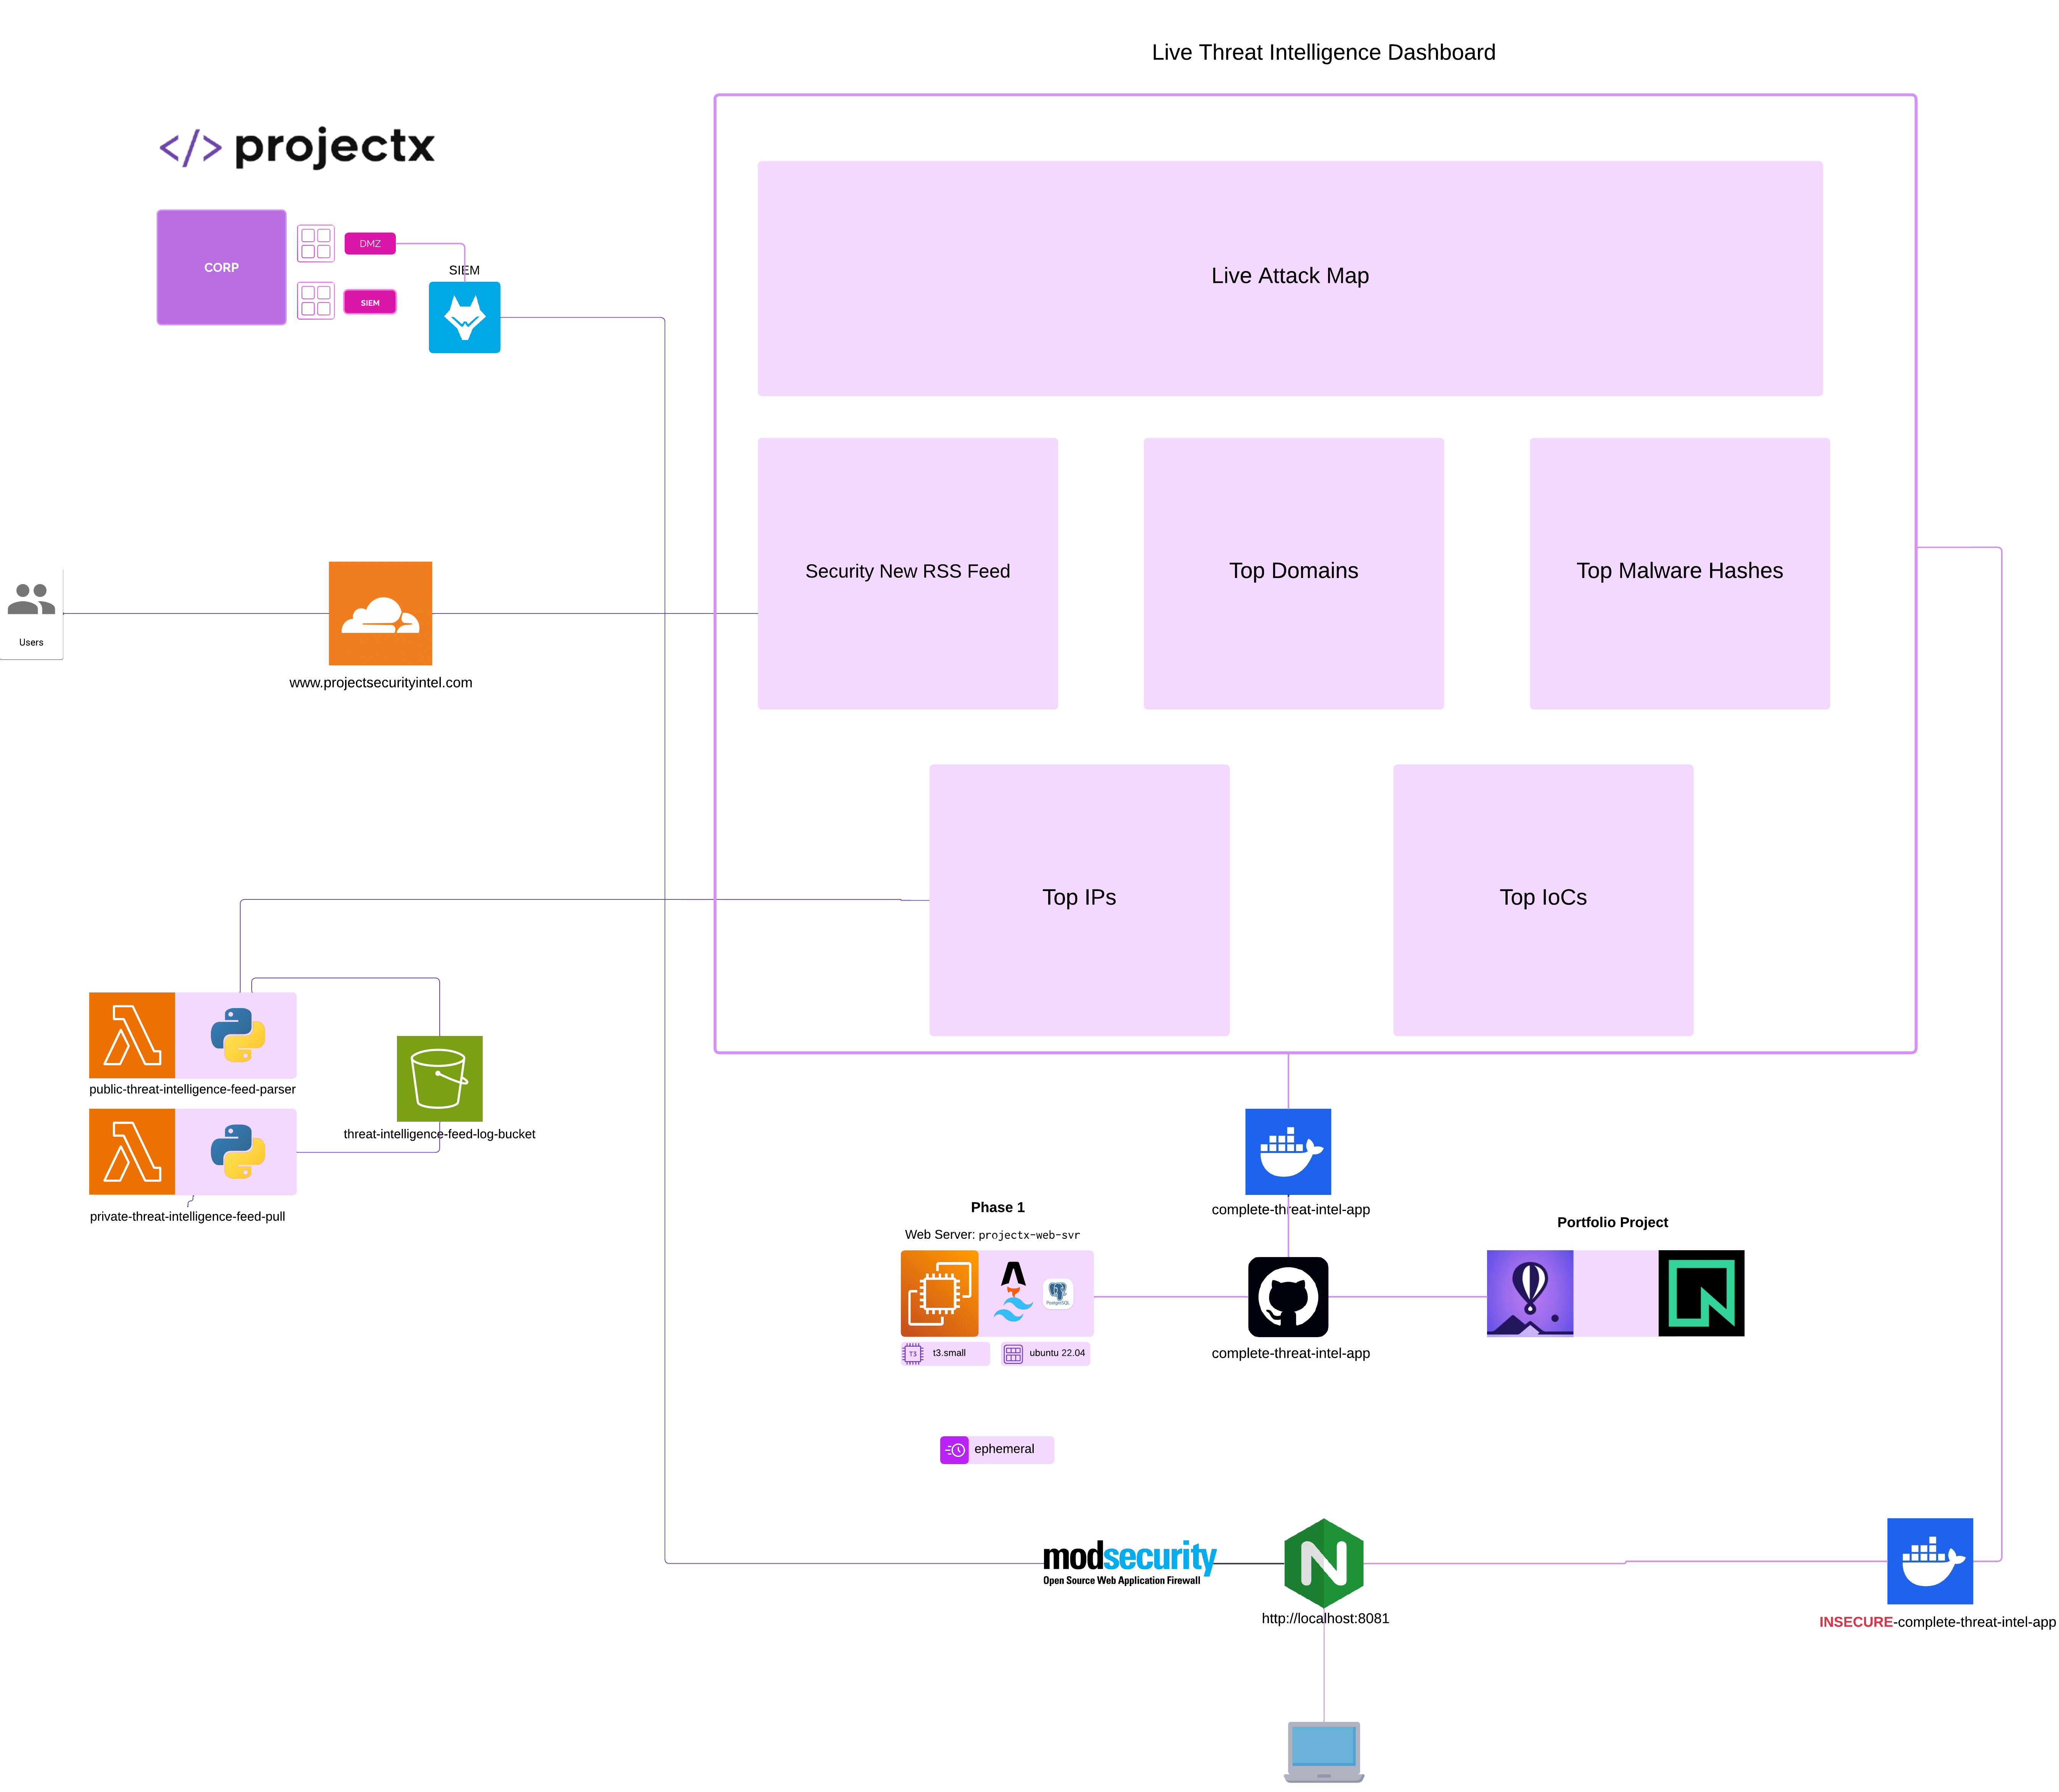
After CI/CD is enabled:
1. GitHub account
Create a free account at GitHub and verify your email so you can create repositories.
2. Personal access token (PAT)
You will use a PAT so your laptop can git push over HTTPS (and so pushes can trigger workflows).
- GitHub → Settings (your profile) → Developer settings → Personal access tokens.
- Create a classic token (simplest for labs) or a fine-grained token scoped to your dashboard repo only.
Classic token — enable at least:
repo— read, clone, push, and manage code for private/public repos you own.workflow— update workflow files under.github/workflows/(GitHub requires this when you add or change Actions workflows).
Fine-grained token — for your dashboard repo only, set:
- Repository permissions → Contents: Read and write
- Repository permissions → Workflows: Read and write
Store the token somewhere safe (password manager). When Git prompts for a password over HTTPS, paste the token, not your GitHub password.
Official reference: Managing your personal access tokens.
3. Fly.io deploy token
GitHub Actions needs permission to deploy your app. Create a Fly deploy token tied to your organization/account (not your laptop session).
- Install flyctl and log in:
fly auth login. - Create a deploy token (replace the app name with your
fly.tomlappvalue):
- Copy the token immediately—it is shown only once.
You will store it as the GitHub secret FLY_API_TOKEN in section 7.
Official reference: Continuous deployment with GitHub Actions.
No SSH keys for Fly
Unlike the legacy EC2 workflow, you do not create a CI/CD SSH keypair or open port 22 for deploys. Fly builds and runs your container from the API token.
4 Initial commit and push
git status
git add .
git commit -m "Import threat intelligence dashboard and Fly deploy workflow"
git push -u origin main
Use your PAT when Git asks for a password.
Do not commit secrets
Never commit .env, Neon passwords, or FLY_API_TOKEN. Database credentials belong in fly secrets set only.
5. GitHub Actions secret
The workflow .github/workflows/deploy-fly.yml needs one repository secret.
In GitHub: open complete-threat-intelligence-dashboard → Settings → Secrets and variables → Actions → New repository secret:
| Secret name | What to put |
|---|---|
FLY_API_TOKEN |
Deploy token from section 3 (fly tokens create deploy -a …) |
Ensure Actions are allowed: Settings → Actions → General → allow workflows to run.
| Secret | Where database config lives |
|---|---|
FLY_API_TOKEN |
GitHub Actions (deploy only) |
DB_HOST, DB_PASSWORD, etc. |
Fly.io (fly secrets set — see personal_project_deploy.md) |
Until FLY_API_TOKEN exists, the deploy job fails at flyctl deploy. Until Fly secrets exist, the app may deploy but show database errors in the browser.
8. Final Workflow Overview
On every git push to main:
- Checkout repository.
npm ciandnpm run build(Astro →./dist/).flyctl deploy --remote-only— Fly’s builders create the image fromDockerfileand roll out to your app.
Watch runs under Actions in GitHub. A green run should update https://YOUR-APP.fly.dev within a few minutes.