Prerequisites
Network Topology
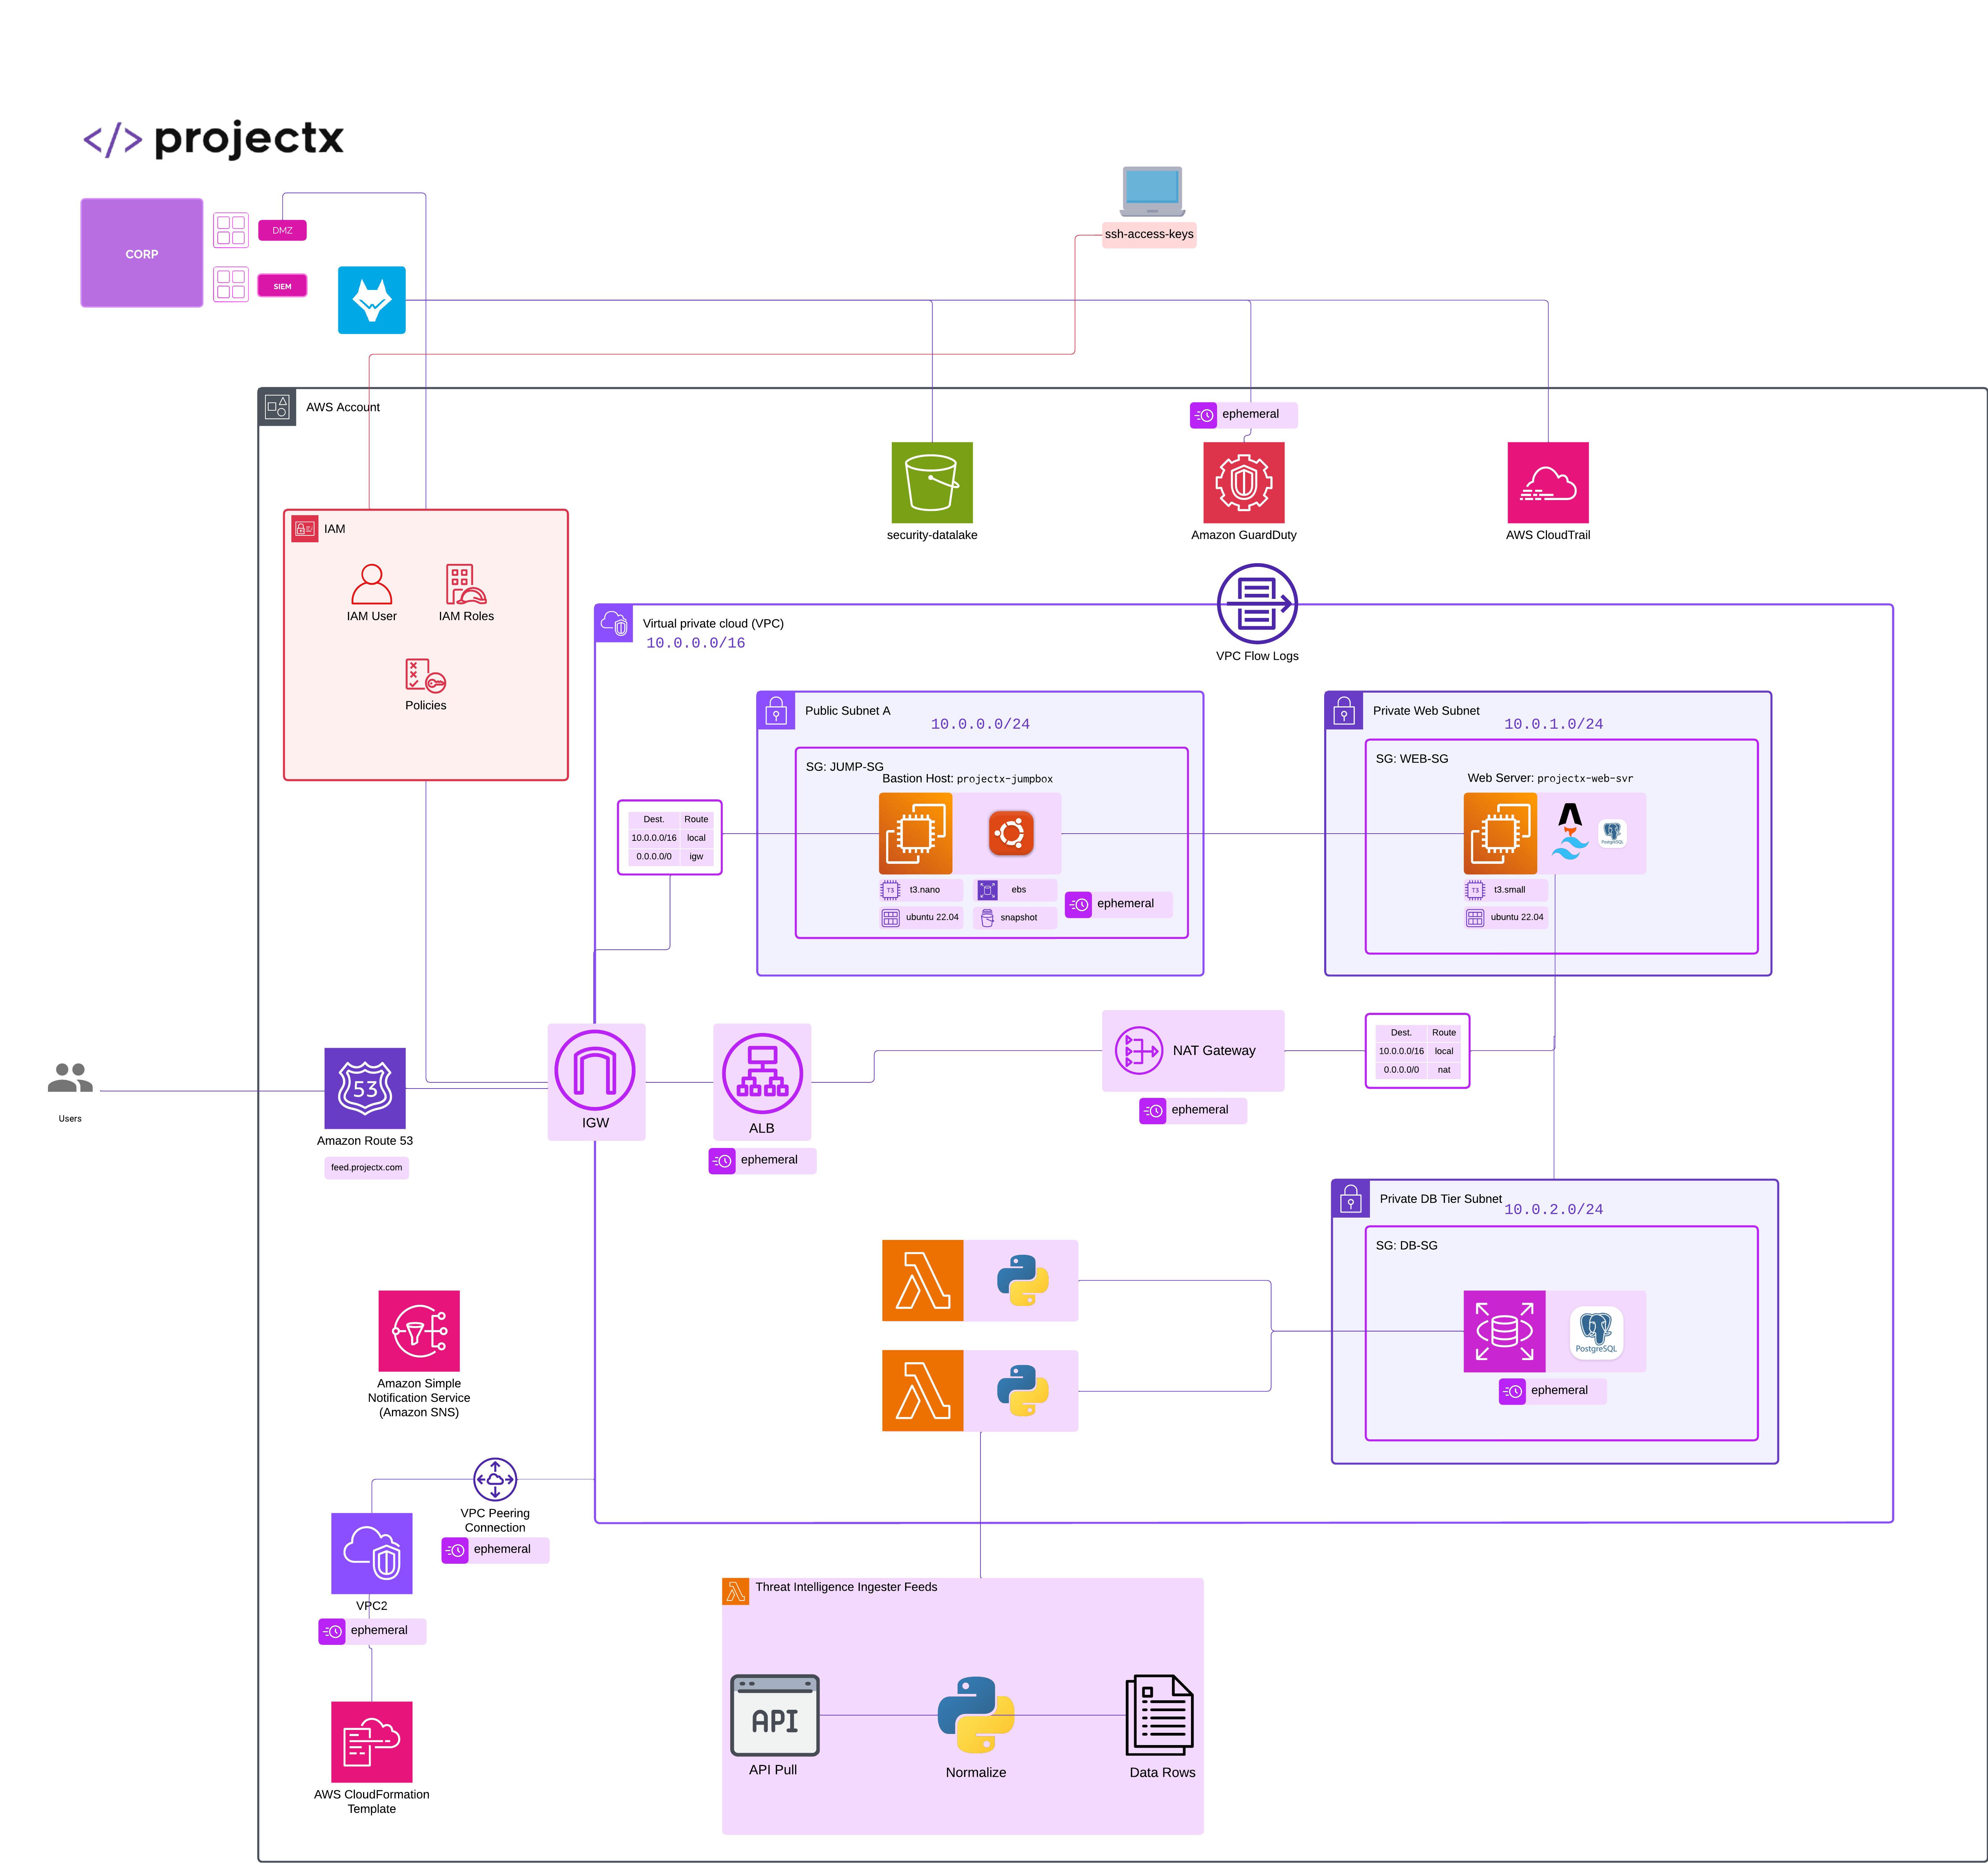
Overview
What is Amazon EC2?
Amazon Elastic Compute Cloud (EC2) is a web service that provides resizable compute capacity in the cloud. EC2 allows you to launch virtual servers (instances) on-demand, configure security and networking, and manage storage.
Key Features: - Virtual Servers: Launch instances with various operating systems (Linux, Windows, macOS). - Instance Types: Choose from different compute, memory, storage, and networking capacities. - Scalability: Quickly scale instances up or down based on demand. - Pay-as-you-go: Only pay for the compute time you use. - Security: Integrated with AWS security services like IAM, Security Groups, and VPC.
Common Use Cases: - Web servers and applications - Development and testing environments - Database hosting - High-performance computing - Container hosting
In CA101, we'll use EC2 instances to build and test our cloud infrastructure, including bastion hosts and web servers.
Create tmp-projectx-jumpbox
Navigate to EC2 AWS Service.
Select "Launch instance".

Configure the instance:
- Name:
tmp-projectx-jumpbox

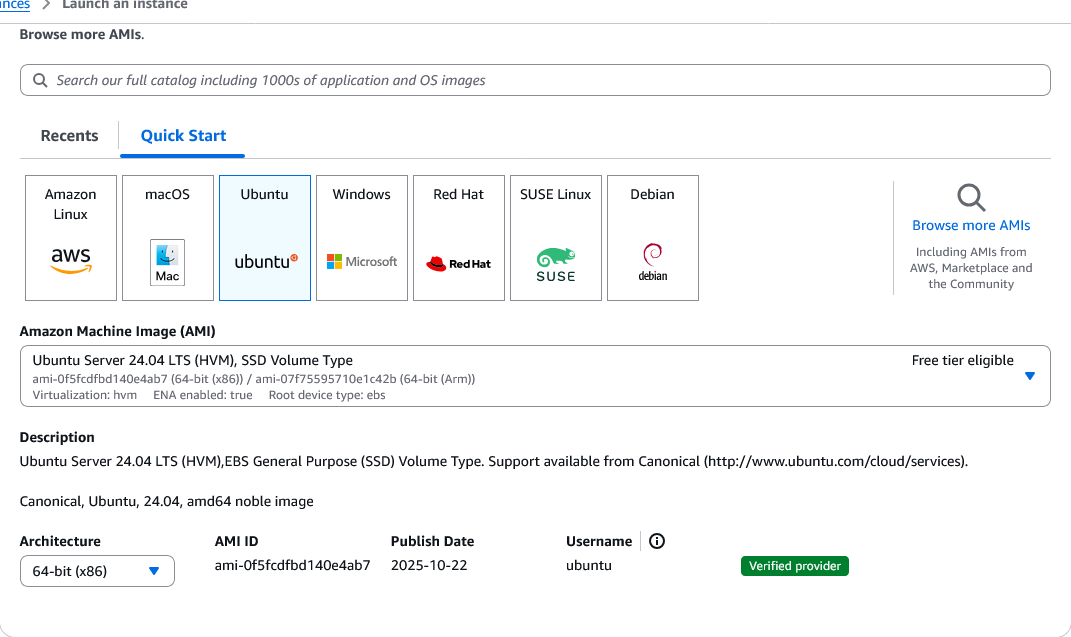
- AMI: Ubuntu Server 24.04 LTS
- Instance type:
t3.micro

- Key pair: Select
My-Desktop-Key-Pair

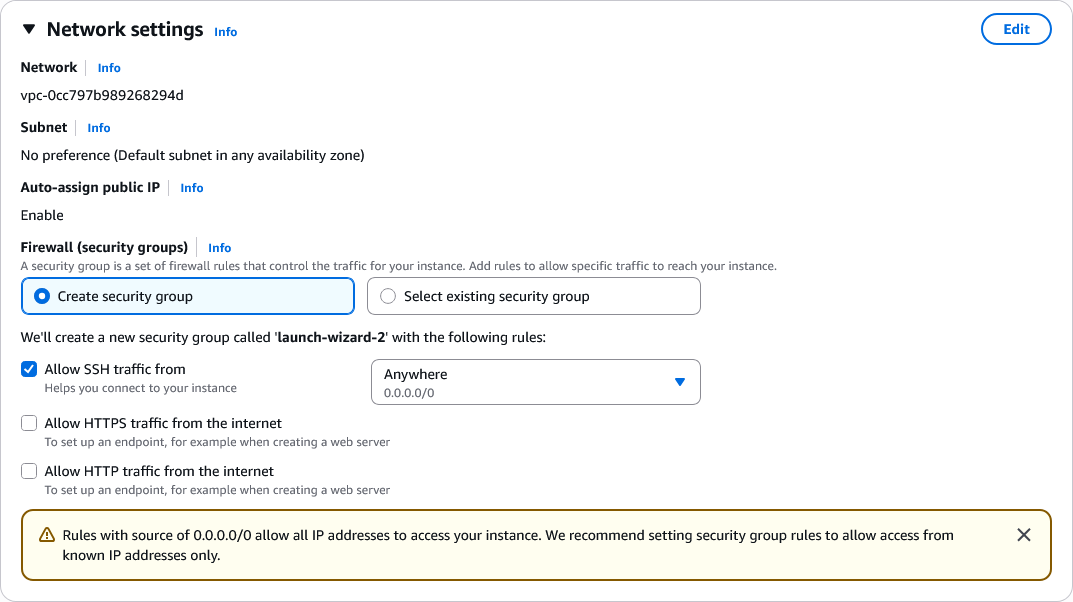
Configure Security Group:
Select the "Edit" button.
-
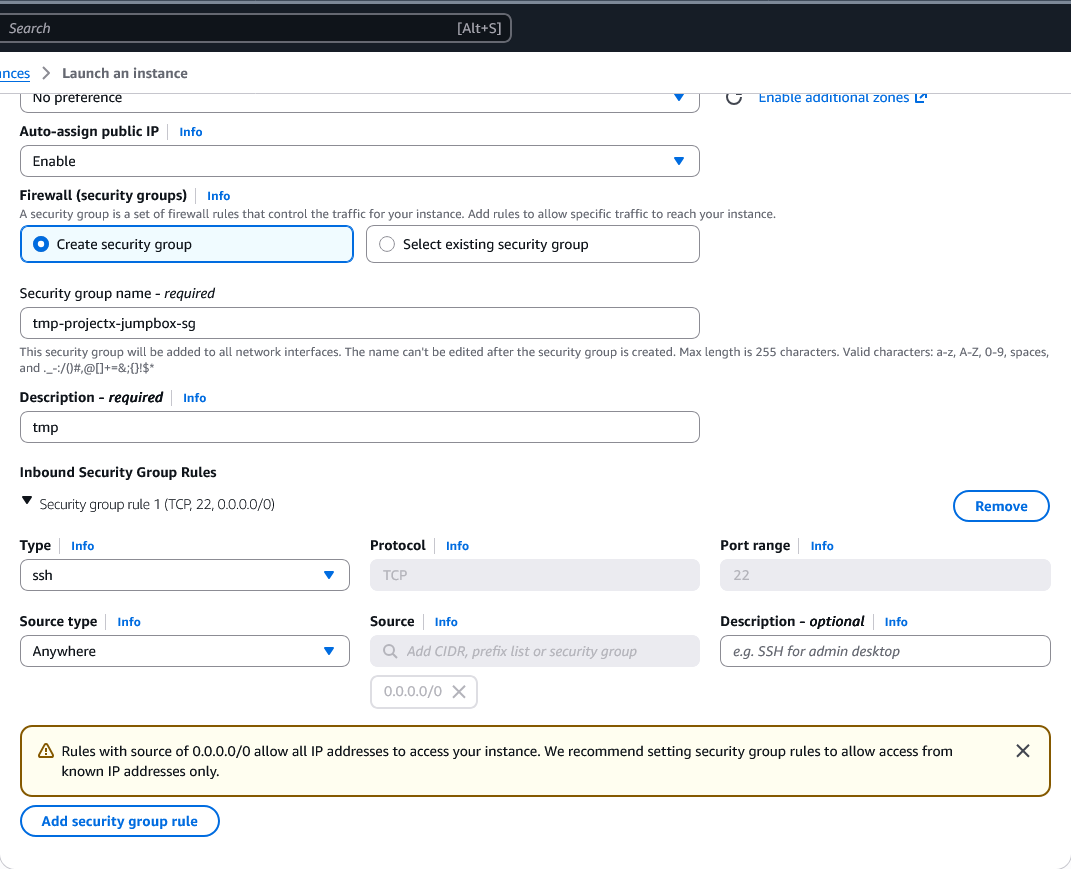
Security group name:
tmp-projectx-jumpbox-sg -
Inbound rules: Add SSH (port 22) from
My IP
Leave all other settings as default.
Leave everything else default.
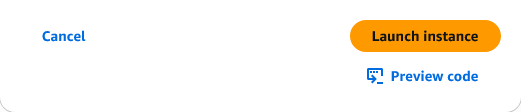
Select "Launch instance".
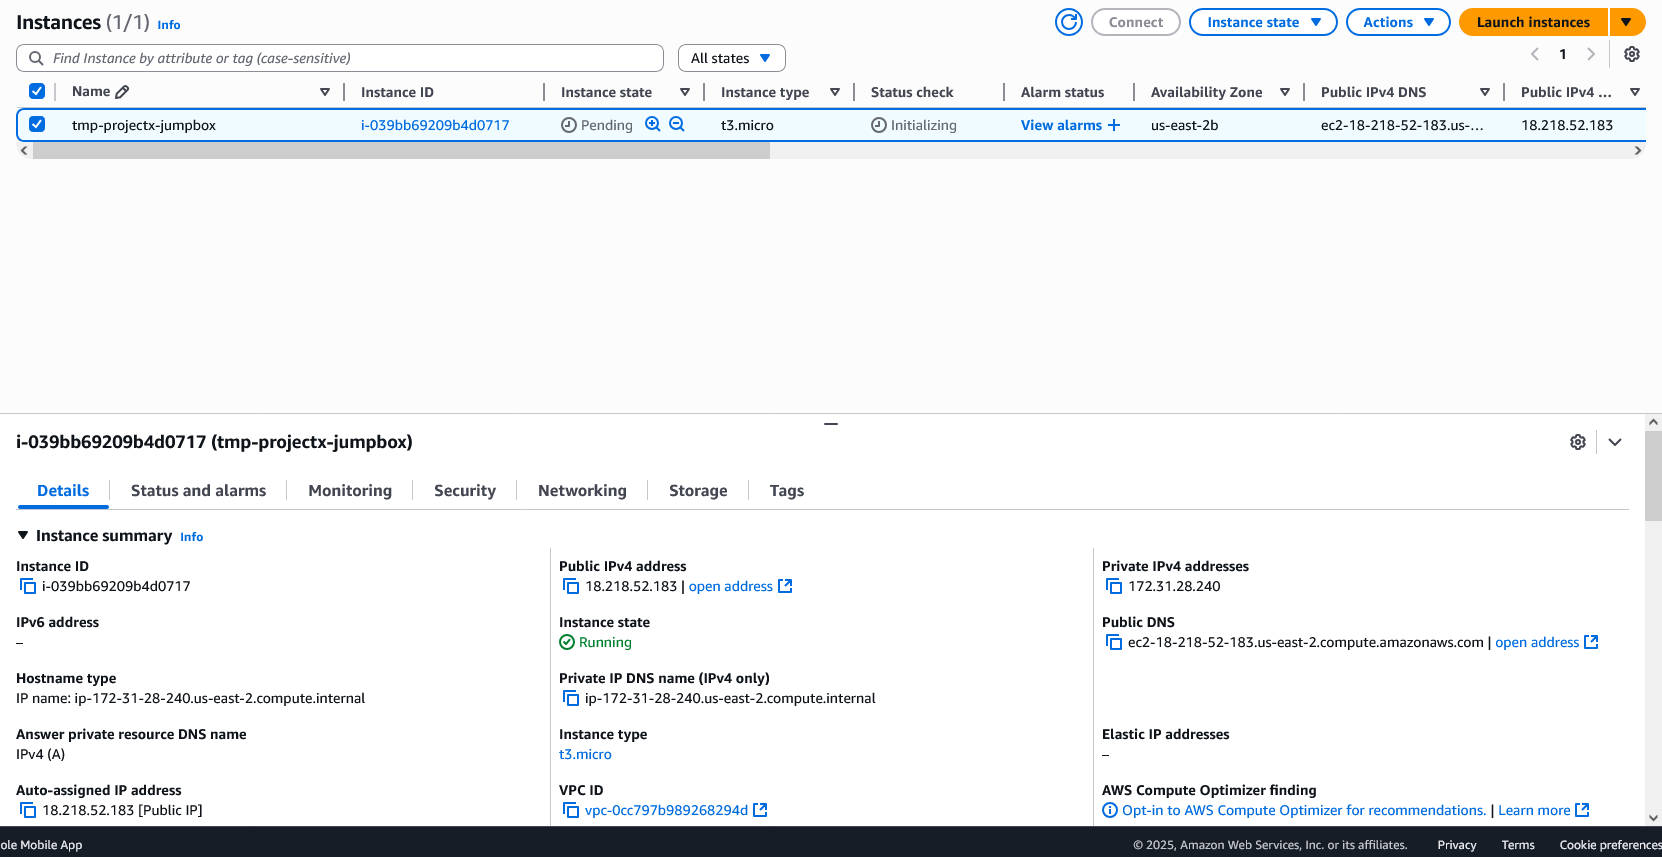
Wait for the instance to reach "Running" status and note the public IP address.
Login Methods
SSH
Open terminal or PowerShell.
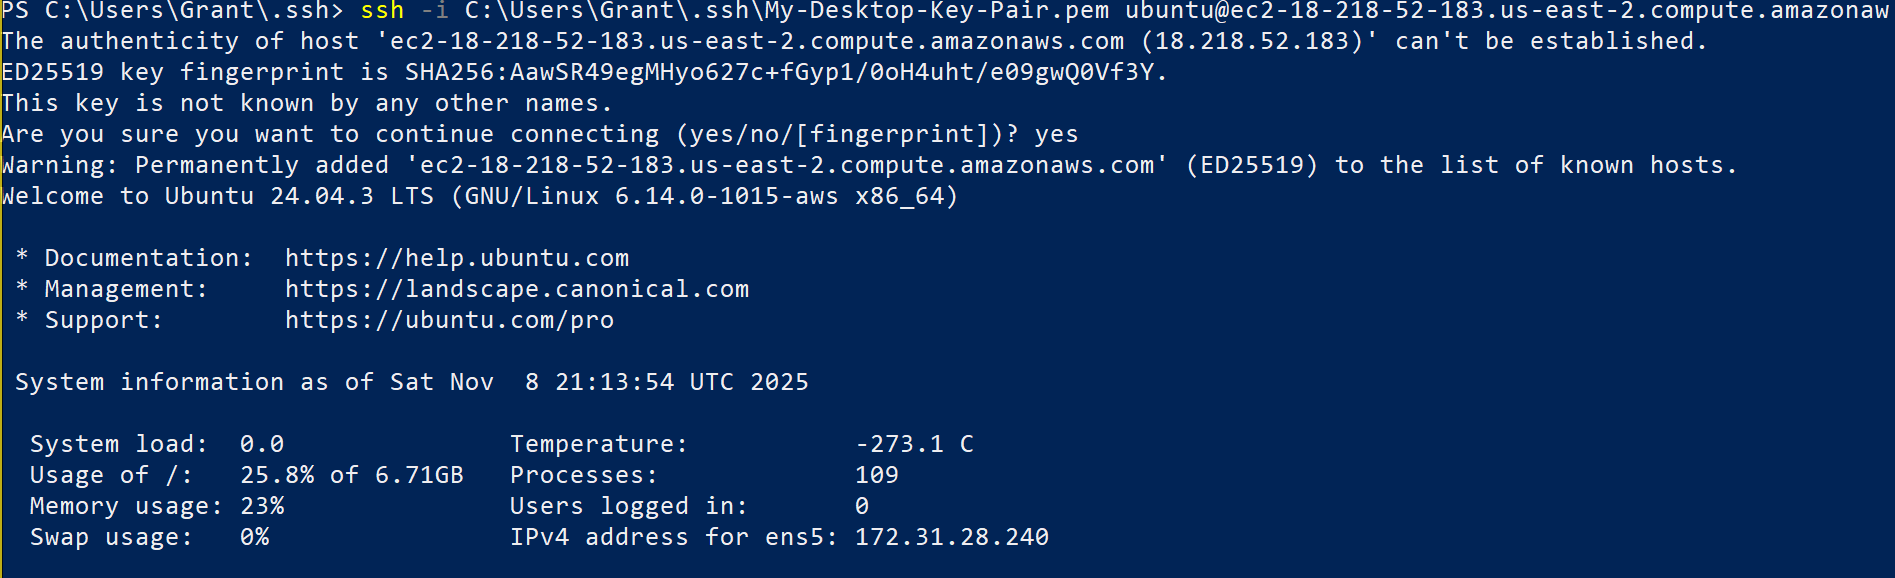
Connect using your private key:
On Windows PowerShell:
Replace <public-ip-address> with your instance's public IP.
👉 First connection will prompt you to accept the host fingerprint. Type yes and press Enter.
You should now be logged into your Ubuntu instance.
EC2 Instance Connect
In the EC2 Console, select your instance tmp-projectx-jumpbox.

Select "Connect" ➔ "EC2 Instance Connect".
Select "Connect".
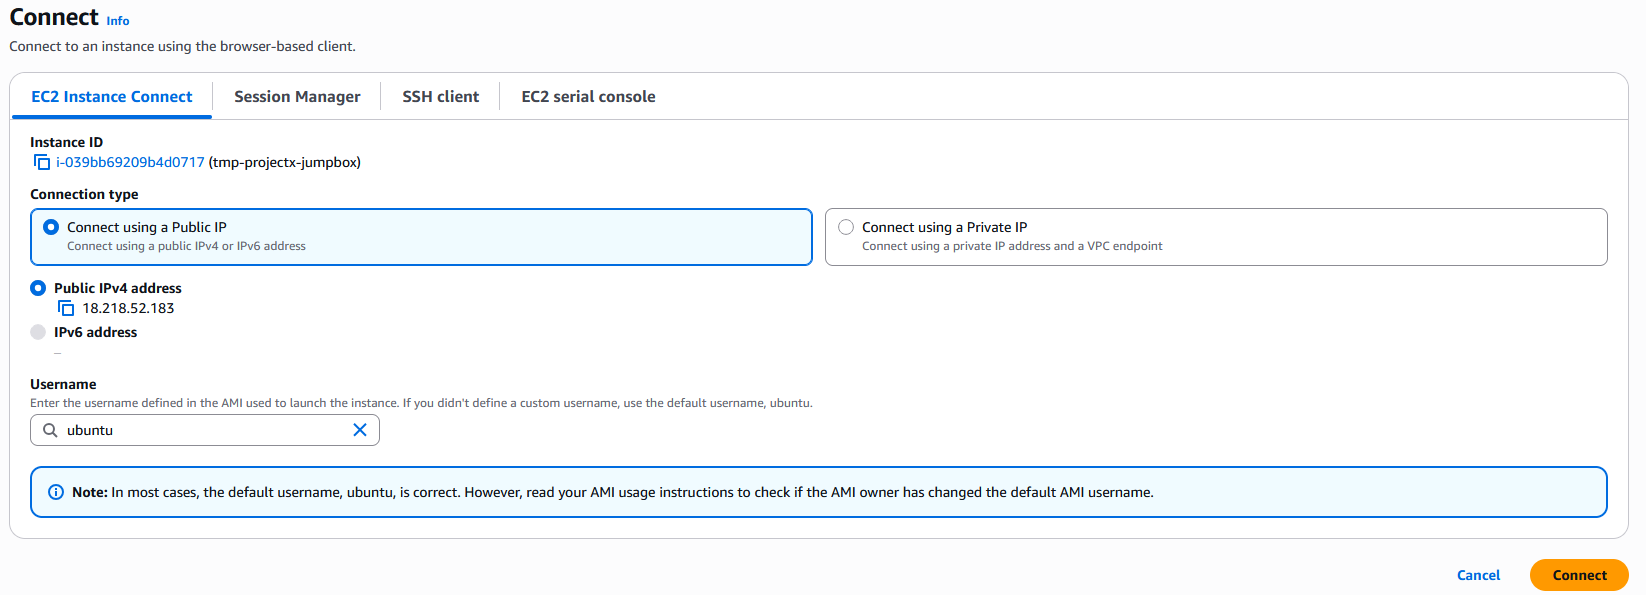
A browser-based terminal will open, providing immediate access without SSH keys or IP addresses.
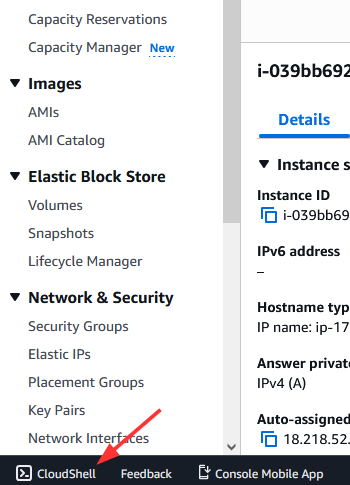
CloudShell
In the AWS Console, select the CloudShell icon (top navigation bar).
Wait for CloudShell to initialize.
Connect to your instance using SSH:
👉 You may need to upload your private key to CloudShell first, or use EC2 Instance Connect from CloudShell.
Security Groups
Security Groups act as virtual firewalls controlling inbound and outbound traffic for your EC2 instances.
Key Concepts:
- Inbound rules: Control incoming traffic to your instance
- Outbound rules: Control outgoing traffic from your instance
- Stateful: Responses to allowed inbound traffic are automatically allowed outbound
- Default deny: All traffic is denied by default unless explicitly allowed
Current Configuration:
Your tmp-projectx-jumpbox-sg currently allows:
- SSH (port 22) from all IP addresses.
Remove SSH
👉 Removing SSH access will lock us out of the instance unless we have an alternative method (SSM Session Manager).
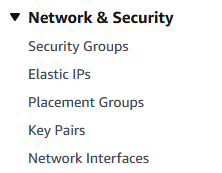
Navigate to EC2 ➔ Security Groups.
Select tmp-projectx-jumpbox-sg.
Select "Edit inbound rules".
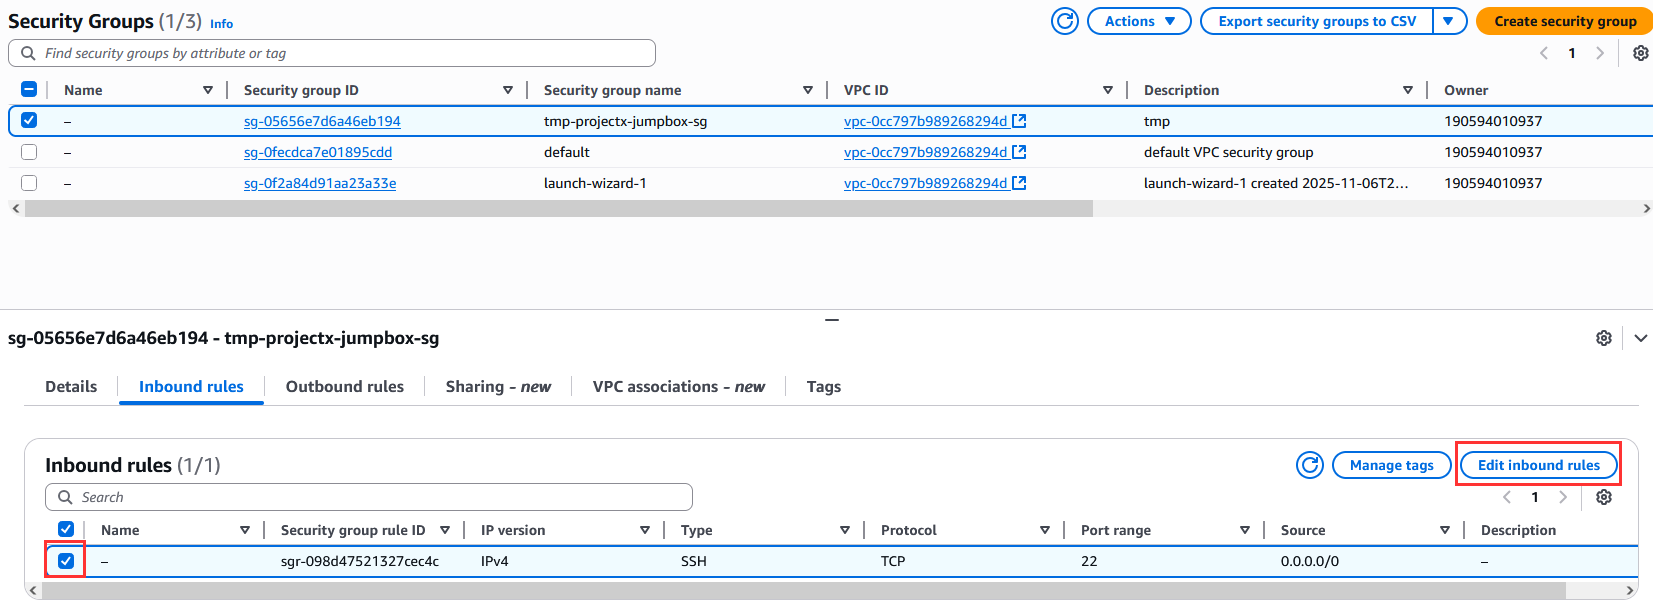
Select "Delete" on the SSH rule.
Select "Save rules".
Your instance no longer accepts SSH connections from the internet.
SSM Manager
AWS Systems Manager (SSM) Session Manager provides secure, agent-based access to EC2 instances without opening inbound ports or managing SSH keys.
Benefits:
- No SSH ports needed in Security Groups
- No key management required
- Encrypted sessions via AWS IAM
- Audit logging of all sessions
- Works through private networks
Prerequisites for SSM:
- SSM Agent: Pre-installed on Amazon Linux 2, Ubuntu 16.04+, and Windows Server 2016+
- IAM Role: Instance must have an IAM role with
AmazonSSMManagedInstanceCorepolicy - Internet Access: Instance needs outbound HTTPS (443) to reach SSM endpoints
Connect via SSM:
In EC2 Console, select your instance ➔ "Connect" ➔ "Session Manager" ➔ "Connect".
A browser-based terminal opens, providing secure access without SSH.
👉 SSM Session Manager is the preferred method for accessing instances in production environments as it reduces the attack surface by eliminating the need for SSH access.
We will learn how to provision SSM console access once we create our own VPC and VPC endpoint.